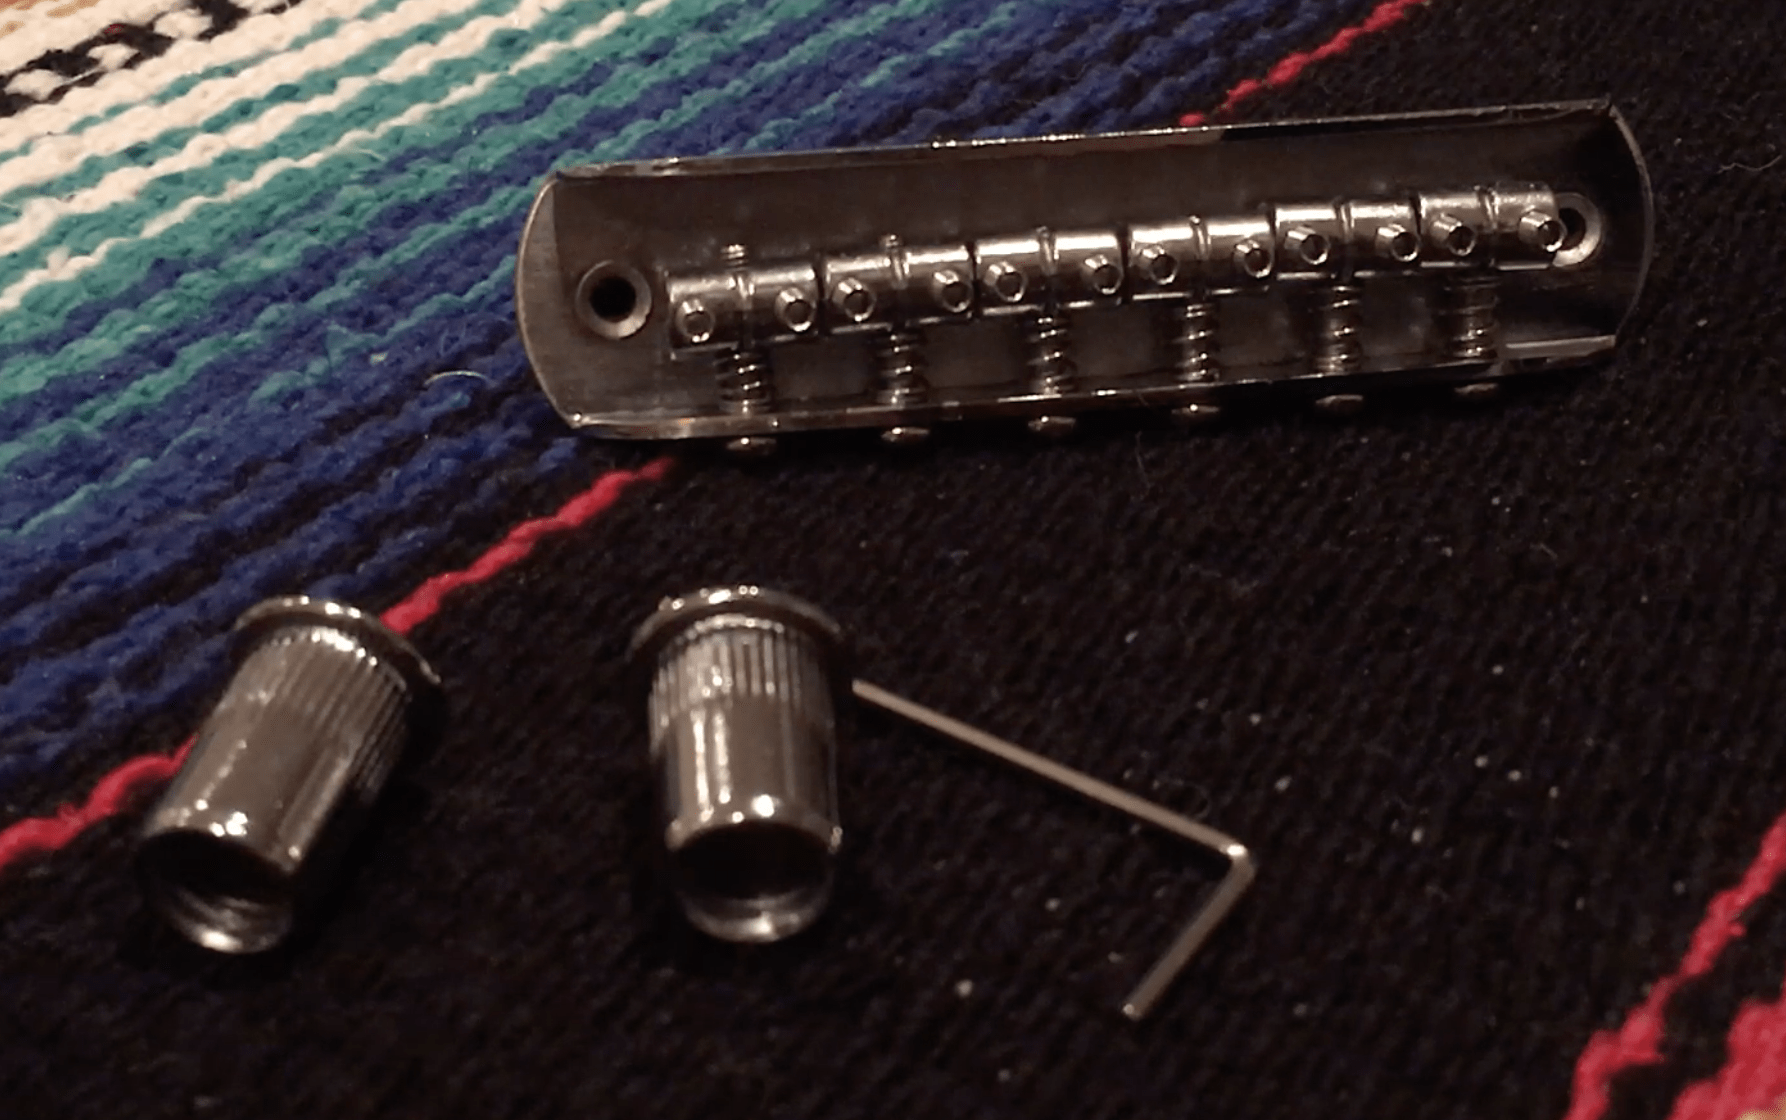
Replace the Squier Jaguar Bridge on a Budget
If you own a Squier Vintage Modified Jaguar, you probably have some complaints about the guitar’s stock bridge. Whether you’re struggling with poor sustain, strings slipping from the saddles, or strings buzzing, you will solve a lot of headaches when you replace the Jaguar’s bridge.
There are a few well-known replacement bridges that cost a lot of money – the Mastery Offset Bridge is a high-quality replacement that costs around $200. The Staytrem bridge is around half the price of the Mastery, but it only ships within the UK. I don’t want to spend $200 to upgrade a $400 guitar, so the Mastery is out of consideration, and although the Staytrem’s price is more enticing, I live in the USA and obtaining one would be a challenge. At the lower end of the market – in the $20 to $50 range – there is a lot of conflicting information about what parts are suitable.
I recently replaced the bridge on my Squier VM Jaguar with a Timiy Bridge from Amazon, which cost around $13. In this article I’ll explain how I did it and what I like about my new bridge.
Why the Timiy bridge for my Squier Jaguar?
I chose the Timiy bridge for a few reasons.
First, the price is great. It was around $13 when I bought it, which is substantially less expensive than other replacement bridges. It was a very low risk purchase.
- One groove per saddle. The stock bridge’s saddles have several shallow grooves, and strings would often fall out while playing.
- It has fully adjustable saddles. Mustangs and Jaguars have similarly-sized bridges, so guitarists have been replacing Jaguar bridges with Mustang bridges for many years. However, the 7.5″ radius of the typical Mustang bridge doesn’t match the 9.5″ radius on the Squier VM Jaguar, so the action on low and high E strings would be uncomfortably high compared to the inner strings. The bridge and fretboard should have the same curvature, so the bridge should either be the right radius when you buy it or it’ll need to be adjustable.
Installing the bridge
I made this video about how I installed the bridge. As you’ll see, installation was an easy process.
First Impressions
I was immediately impressed when I first installed the new bridge. One week later, I’m still pleased.
Pros of switching:
- It’s louder. When I play, I can feel the body of the guitar vibrating more strongly than with the stock bridge.
- The strings are more stable. No more flopping out of the saddles!
- Notes sustain longer.
Cons of switching:
- There is slight loss of treble in the sound. Since Jaguars are known for their jangliness, this means the guitar slightly more generic. I use my Danelectro Fish and Chips EQ Pedal to reintroduce some of the lost high-end.
Conclusion
All in all, I’m glad I switched my bridge. I’ve held onto the guitar’s stock bridge, just in case, but in the meantime I really appreciate how much of a performance boost I’ve given my guitar at such a low price.
If you’re not satisfied with your Squier Jaguar’s bridge, and you’re on a budget, you should give the Timiy Bridge a try.


Comments (1)
Squier Jaguar – Electric Guitar Review – Var Guitar
April 27, 2020 at 10:31 pm
[…] I replaced the bridge on my Jaguar, and I’m glad I did. I go into more detail in the linked article. It was an extremely easy modification to make. […]
Comments are closed.